
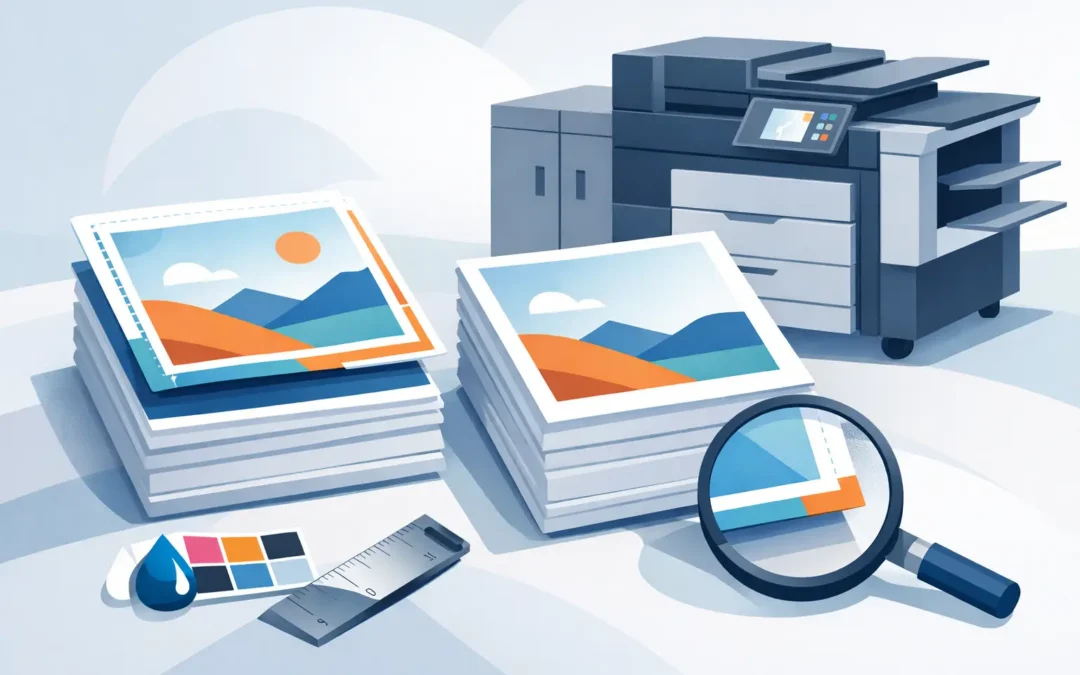
A postcard with a thin white line along one edge can make an otherwise polished promotion look rushed. The same is true for business cards, menus, event flyers, and presentation folders. If you are asking, is bleed required, the practical answer is: it is required whenever your design prints to the very edge of the finished piece.
Bleed is not a decorative extra or an unnecessary production charge. It is a small area of artwork that extends beyond the final trim line, giving the production team room to cut your piece cleanly. It is one of the simplest ways to protect the professional look of your printed marketing.
Is Bleed Required for Every Print Job?
No. Bleed is not required for every file. If your artwork has a white background and all text, logos, photos, and color blocks sit comfortably inside the final edge, you may not need it. A basic letterhead with a logo in the upper corner, for example, can often be produced without bleed.
Bleed becomes necessary when color, an image, a pattern, or a graphic element reaches the edge of the finished product. Think of a restaurant menu with a full-color background, a real estate postcard with a property photo covering the entire front, or a business card with a dark color field from edge to edge. Without bleed, normal trim variation can leave a narrow unprinted edge.
Commercial paper cutters are accurate, but no trimming process is perfectly fixed to a single microscopic point. Sheets move slightly during finishing, and that small variation is normal. Bleed gives the cutter extra printed area to work with, so a tiny shift does not show up as a distracting white border.
What Bleed Does and Does Not Do
Bleed extends your background artwork past the final size of the printed piece. The added area is trimmed away after printing. It does not make your final business card, flyer, or brochure larger. It simply protects the appearance of the final size you ordered.
For most standard marketing collateral, the common bleed amount is 0.125 inch, or one-eighth of an inch, on every side. A standard 3.5 x 2 inch business card with bleed should therefore be designed at 3.75 x 2.25 inches. An 8.5 x 11 inch flyer should be supplied at 8.75 x 11.25 inches when the background runs to all four edges.
Bleed also does not protect text or critical design details that are placed too close to the edge. That is the job of the safe area. Keep names, phone numbers, QR codes, prices, logos, and fine borders inside the safe area, usually at least 0.125 inch from the trim line. For products with folds, perforations, or complex finishing, leaving even more room can be the smarter choice.
Bleed, Trim Line, and Safe Area
These three terms work together. The trim line is the final edge of the printed product. Bleed sits outside that line and is removed during cutting. The safe area sits inside the trim line, where important content should remain.
A quick way to picture it is to treat the trim line as the edge of a photo frame. The bleed is extra image behind the frame. The safe area is the portion where you would place the subject’s face, not near the frame where it could be cropped.
For a full-bleed design, extend background colors, photos, and patterns all the way through the bleed. Do not stop them at the trim line. If a blue background stops exactly at the finished edge, it is not providing any trim protection, even if your design software shows a bleed setting.
Jobs That Usually Need Bleed
Many high-impact print pieces rely on full-bleed artwork because it looks more intentional and more premium. Promotional postcards, full-color flyers, brochures, door hangers, rack cards, folders, and business cards often need bleed when their design uses edge-to-edge color or photography.
Large-format products can need bleed too, but the specifications vary more. Posters, window graphics, banners, foam boards, and mounted signs may require extra image area for trimming, mounting, hemming, grommets, or hardware. A retractable banner, for example, needs a bottom area that feeds into the stand. That requirement is different from ordinary trim bleed, but it is just as critical to the final appearance.
Designs with borders deserve special attention. A thin border placed close to the edge can look uneven after trimming, even when the file includes bleed. The cutter may be within standard tolerance, but the eye notices when one side of a border is slightly thicker than the other. For that reason, avoid tight borders on business cards, postcards, and other small-format pieces. Consider a wider border or let the background run fully to the edge instead.
When You Can Skip Bleed
You can typically skip bleed if the finished piece is intentionally white at the edge and no design element touches the trim. This is common for simple stationery, text-heavy forms, internal documents, and certain one-color letterheads.
Skipping bleed can make a file easier to build, but it does not always save production time or cost. The better decision is based on the artwork, not on whether you want to avoid an extra setup step. If your design calls for a full-page photo or color background, adding bleed upfront is much faster than revising a file after it is flagged during prepress.
A white margin can also be a smart design choice. It creates breathing room and can make an upscale brand feel clean and organized. The difference is that the white margin must be intentional and wide enough that normal trim movement will not make it look accidental.
How to Set Up Bleed Correctly
Most professional design programs allow you to set bleed when you create a document. Enter 0.125 inch on all sides for standard printed pieces unless your product template calls for another amount. Then build your artwork with the final trim size and extend only the background elements into the bleed area.
When exporting a PDF, select the option to include document bleed settings and crop marks if requested by your print provider. A press-ready PDF is generally the best format for commercial printing because it retains layout, fonts, images, and color settings more reliably than an office document or low-resolution image file.
Before uploading, check the file at 100 percent zoom. Look for images that stop at the trim line, phone numbers sitting near an edge, QR codes with inadequate white space, and logo marks that may be cropped. For printed marketing, a beautiful on-screen mockup is not enough. The production file must account for how the job will be trimmed, folded, mounted, or finished.
Common File Problems That Delay Printing
The most common issue is artwork that has full-bleed intent but no actual bleed. A customer may upload an 8.5 x 11 inch flyer with a photo reaching the edge, when the production file needs to be 8.75 x 11.25 inches. The choice is then to scale the job slightly, add a border, or revise the art. None is as clean as preparing the file correctly from the start.
Low-resolution images are another problem. Adding bleed by stretching a small photo can create soft or pixelated edges. Use high-resolution photos from the beginning, and make sure the image has enough extra area around the subject to extend beyond the trim line.
Finally, do not confuse crop marks with bleed. Crop marks tell the cutter where the finished piece ends. They do not add printed content outside that edge. Your file needs both the correct artwork extension and clear production settings when required.
Bleed Is a Small Detail With a Big Brand Impact
Customers may not know why a card or flyer looks professionally made, but they notice the difference. Clean edges make colors feel more deliberate, photography feel more immersive, and branded collateral feel more credible. That matters when your materials are being handed to a prospective client, displayed at a busy event, or placed at a hotel front desk.
For urgent projects, correct bleed also keeps the production process moving. Sobe Express can help review files and provide in-house design support when needed, but a print-ready file gives you the best path to fast turnaround and top-quality results. If your campaign needs full-bleed color, build that extra 0.125 inch into the design before you upload. It is a small production decision that helps your finished piece look exactly as confident as your business.
Recent Comments